I have wanted, dreamed of, asked for a light table for years now. I just think they are so awesome of a play choice for young children. I also love the direct and indirect academic learning that can come from there use.
 So when a parent donated a new table for housekeeping, I knew what our old IKEA table could become. A quick Pinterest search found a number of ideas I was pretty sure I could adapt.
First step was frosted plexiglass. This was actually super hard to find because I still haven’t been able to grow money on trees yet. Instead, I settled for clear glass but I left the plastic on the underside (inside the table)which kept it frosted. I did take the side with the label off as I knew it would tear quickly once the children started manipulating on it.
 The best part was the IKEA table was 18 by 24 and my Lowe’s sold it in pieces 18 by 24 for about $14. Next, I took apart the old IKEA table and discovered the table top had a tiny square cut out of each corner. I asked the wonderful hubby if he had a tool that could help. So a quick cut with the saw and I had a piece that was the exact mirror of the original table top but don’t get rid of that table top.
 I had ordered 5m of led lights from amazon they change color but mostly I wanted a remote for turning them on and a power supply. They actually were much thinner than the traditional rope lights I was expecting and well the 16 color choices had my daughters an I in awe over the teals. The lights had a sticky on the back so they could be stuck down. My first thought was to stick them around the outside and along the wooden supports that my husband suggest I left because as he said “when do 5 year olds not lean on things.” This was great but didn’t quiet give the right affect. So hubby to the rescue again suggested putting them on the original table top on the bottom.
  |
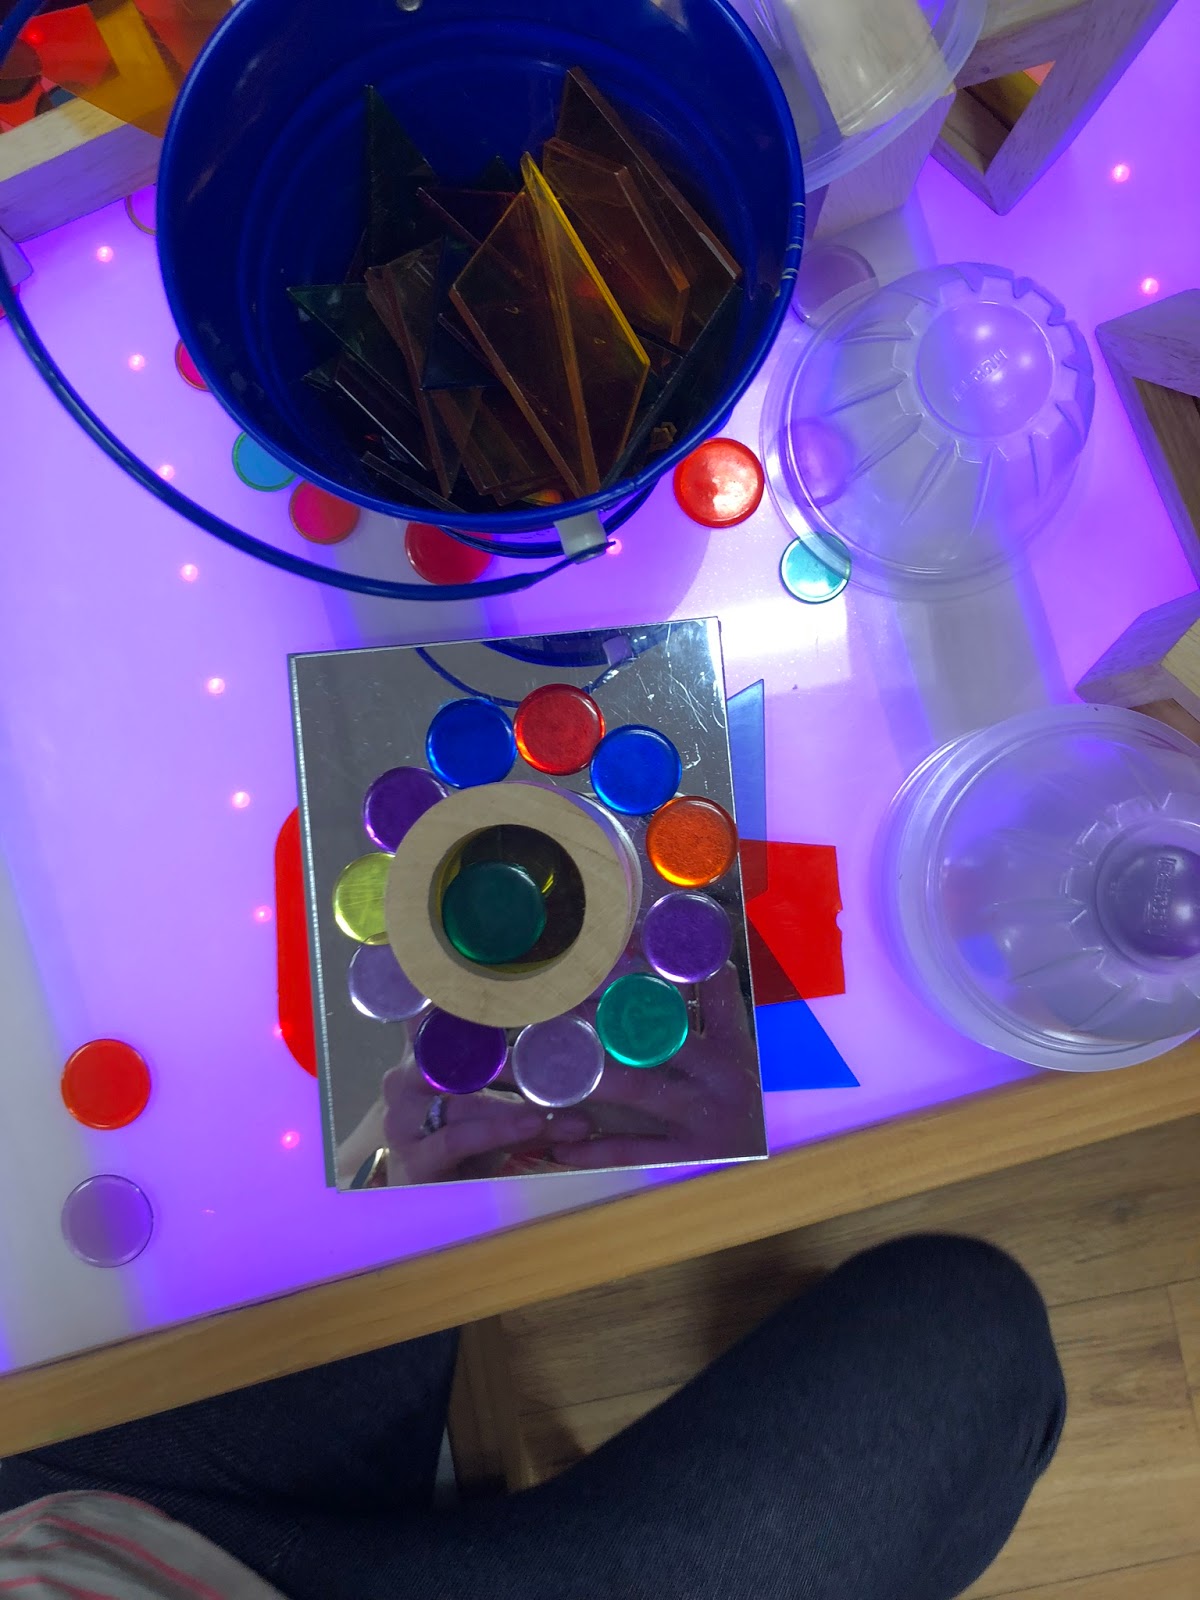
| Here the table is on the plexiglass side you can see the light stuck to the white side of of the original top and then placed down on the side bars. |
So I carefully unstuck and restuck them to the original table top then I put the original table top on the bottom of the table. I went up and down on the base. I placed them on the white side. The white top then lays on the sides and there is space between the plexiglass and the lights.

Then I used (or rather my daughter) the staple gun to secure the old table top to the bottom of the table. you can see how the old top makes a new bottom for the table. I left the cord handing and we were ready to turn it on.
TA-DA it worked like a dream and the kids have been loving it!