nav Bar

Wednesday, August 10, 2016

Easy Clean Eating Swaps You Can Make Today

Cleaning it is one of the best things that I ever did in my adult life. It seems big and scary, but in fact its quiet simple. These are my favorite quick simple tips that you can implement during your next shopping trip.


1) Trade in your flavored, sugar filled, fruit yogurt for plain Greek yogurt then add your favorite fruit, granola, nuts, even a few dark chocolate chips. you'll not only skip the sugar, but the chemicals too!

This is my go to snack all year long at school!


2) Substitute cauliflower rice for brown rice. Brown rice use to be all the rage but now its cauliflower rice and even cauliflower flour. You can make everything from mock mashed potatoes to tortillas using these ingredients. Bonus its vegetable not a starch! I'm always looking for ways to get more veggies aren't you!

3) Trade in your fruit juice for fruit infused water or even just  DRINK the water and eat the fruit...what a concept! I love fruit infused water strawberry basil is one of my favs! Just try it on a hot summers day or in the classroom its a great break.


4) Try almond milk. If you don't have a nut allergy try almond milk. I love the flavor you can get it vanilla flavored milk too. Get the unsweetened kind the almond is sweet enough.

5) Have you heard about coconut oil. I didn't jump on the band wagon at first, but now I'm a believer. You can use it in tons of ways. I even use it on the dogs skin rash. Its wonderful to cook with. No more Pam.

6) Switch potatoes for sweet potatoes. I love sweet potatoes. I love the sweetness and I'm not talking the kind covered with brown sugar and marshmallows. You can make baked potatoes, mashed potatoes, and potato salad with sweet potatoes! Give it a try you won't be disappointed.

7) At first this sounds odd, but it is great for clean eaters. Switch your mayo with plain Greek yogurt. Mayo is full of all sorts of wacko ingredients instead choose plain Greek yogurt or even mashed avocado. I use Greek yogurt in my chicken salad, egg salad, and even in place of sour cream.

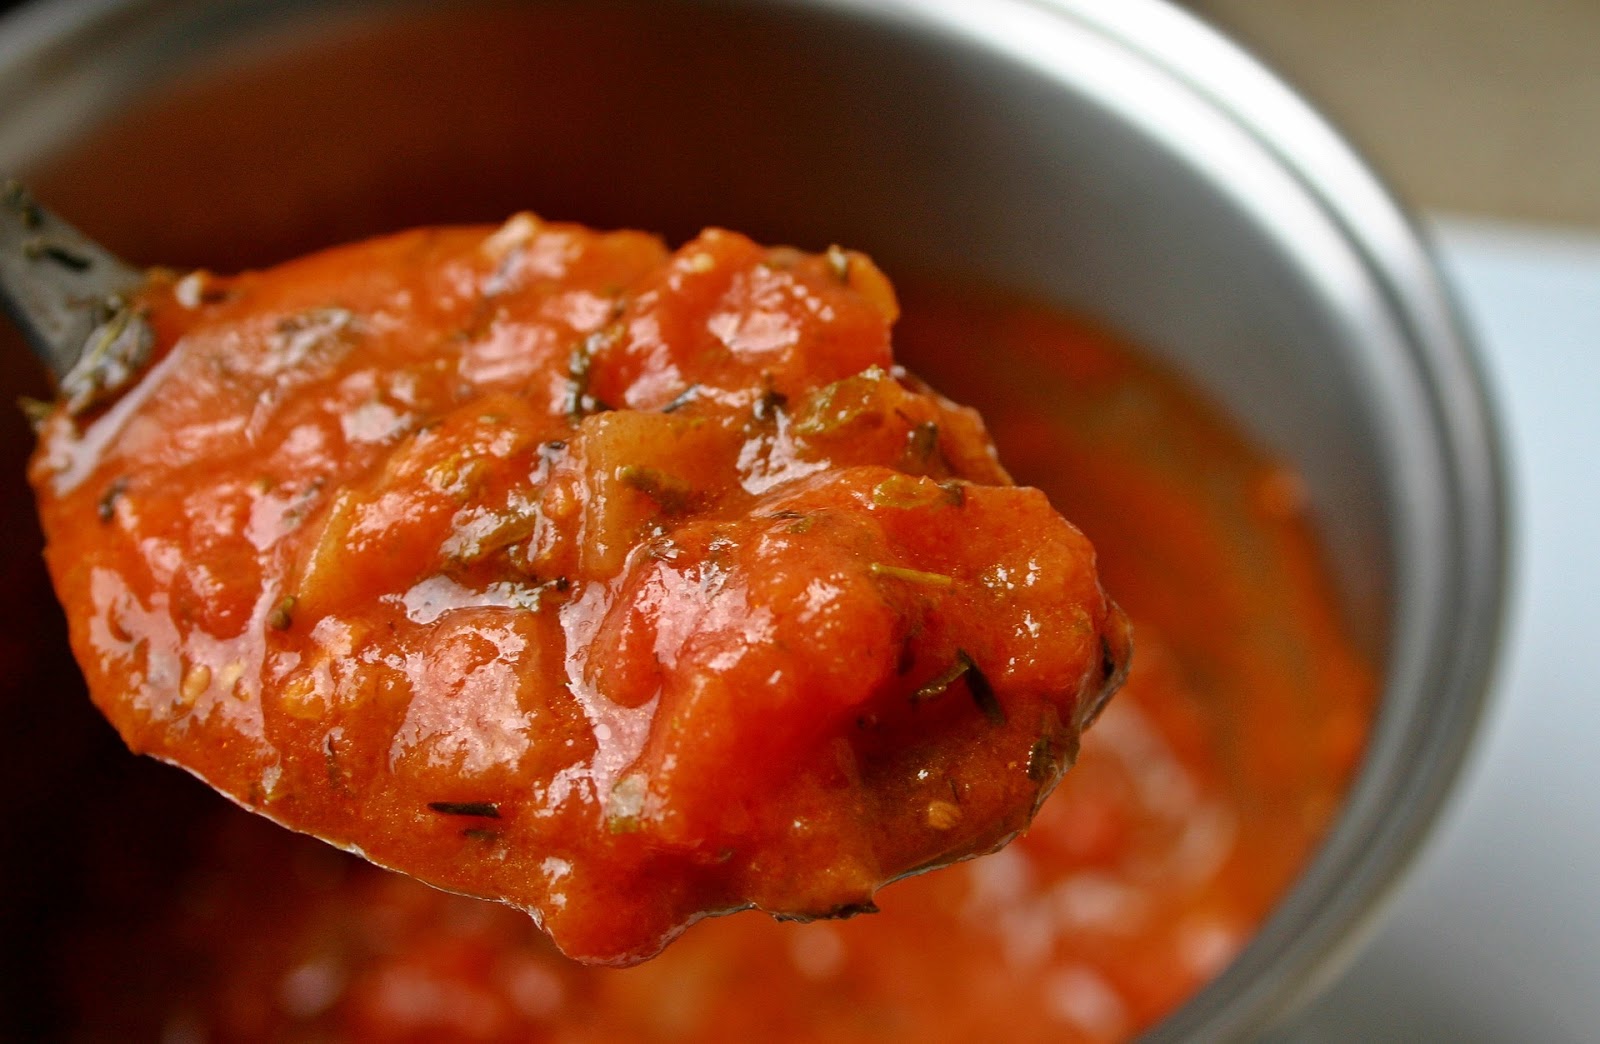
8) Make your own Marinara sauce. This is easy... here is the link to one of my favorites. You can add red wine, extra veggies, fresh tomatoes. Throw EVERYTHING in a crock pot and forget it. The BEST part is you can use it for spaghetti, tomato soup, ratatouille, even Mexican dishes. Make a big pot of it and freeze the extra.

9) While your cooking that marinara sauce throw a spaghetti sauce into the oven. Again its another chance to sneak in veggies, mom WIN! My husband loves it with chicken or meatballs.


10) Keep it simple- Look for food that has simple ingredients, ingredients you can pronounce, and ingredients that can be purchase individually at the store!

Sometimes you need some support as you begin clean eating... I'm running a FREE 5 day Clean eating group to help you make this change. The group includes a 5 day menu, shopping list, and recipes! Click here to sign up for this months group


Monday, August 1, 2016

Back to School Meal Prep Tips

I heard the other day that Walmart was no longer getting in new product for back to school because for them it is coming to an end, but for me its only beginning.

One of the biggest problems I have when we first go back is getting dinner on the table. I've spent all summer at home able to take the meat out of the freezer at the last minute or run by the store for those missing ingredients. Back to school means exhaustion, hours upon hours prepping my classroom, getting the kids back on a schedule, I do NOT want to think about dinner.  If your like me. you'll want to start implementing these simple meal prep tips.

1) Meal Plan

Grab your cookbooks, Pinterest boards, and family recipes and decide what you are going to make for the week. Some people like to plan two weeks in advance I prefer one, as produce doesn't last 2 weeks and it allows for me to use up all my leftovers before cooking new meals.  I write my full meal plan out. You can do it on paper, your phone, or a meal planner like the one linked below. Save your meal plans for future weeks- come on don't reinvent the wheel each week.


2) Shopping List

Write everything you need down. EVERYTHING. By writing it all down, I avoid those trips after school where you get stuck in the longest lines possible behind the college kid buying 42 instant meals.

3) Use LEFTOVERS

When did leftovers get such a bad rap? A good meal often gets better with time. Flavors have blended more together, sauces saturated, and they can be eaten hot or cold as my husband tells me. I typically like leftovers for lunch the next day, but sometimes we have them for dinner. Do not waste time and money cooking a new meal if you have 4 old ones sitting in your refrigerator.  If you don't want them for lunch, then plan an evening when you will eat them, maybe when the kids all have soccer, gymnastics, and piano lessons.

4) Meal Prep

Do you have snack at school? Prep it on the Sunday before school. On Sunday, I prep snacks for my husband and I for the whole week. I store each one in a baggie and then put them in baskets. Each morning it is just grab and go! What could be easier! Breakfast and children's lunch can be done the same way.

5) Make Double Batches

Just like eating leftovers, make double batches of your favorite meals. Many can be frozen cooked or prep all the ingredients split and freeze one set uncooked. These are my favorite when you get home and realize you forgot to take the chicken out of the oven or just can't be bothered to spend the next hour standing at the stove. Hey, we all have those days but this way our family still gets a great meal out of it. Chili is one of my favorites to freeze cooked and Lasagna is my favorite to store uncooked.

6) Keep IT Simple

There is no need to cook a five course meal everyday of the week, unless you want too. When planning keep to simple foods, think crock pot and family favorites. Chicken, vegetables, and a carb is easily a family favorite. Keep snacks and breakfasts simple too. Oh and don't forget to save your meal plans and reuse them in the upcoming weeks! Teachers can think of it as recycling old lesson plans.

Subscribe for your copy of TWO Free Meal Planners. After you complete the information it will ask you to confirm your email. Your Planners will arrive via e-mail immediately.

Receive TWO FREE Meal Planners

* indicates required


Monday, June 27, 2016

Rainforest creation


Teaching the rainforest is one of my favorites. I particularly like it because it's a great opportunity for my kids to independently research an animal.

I'll have to explain the research "how to" in another post, but basically up until now we have done our research whole group. As we study the 4 layers of the rainforest, we set to work creating one on our hallway wall.

We begin by creating safari people and field journals. My grade partner and I found these safari people here. The kids love creating their faces with the construction paper.

The remainder of the rainforest is up to the children to create. We discuss layers, vegetation, and animals.

My favorite activity is when they choose an animal to research, draw, and then paint. To help them with spelling for their first animal, I have them choose one of the animal cards that we have been sorting into the different layers all last week.

Using their IPads and kidrex.org now kiddle.org. We have already discussed choosing sites that use a picture icon that fits your search. After they find a site and a picture of their animal, they draw it.

We talk about using our observation skills. Think about size, shape, color etc. Due to our time constraints this project takes two days.

On the second day we paint our animals. The children again use their IPads to find the animals photo and paint what they see. I love the details they include. Many will ask for pink or light blue because they see a bit in their picture. They must choose all their colors etc. It is not my work, so it is not my job to do it for them (my motto).

On day three and four we repeat this whole process but they must choose another animal and they may choose any animal they wish not necessarily one from the sort cards. This year we mixed it up and used pastels on our second animal.

The children also painted leaves for trees and cut vines to hang. It by far is one of my favorite displays we did all year. The other classes loved walking by as it was so bright and colorful for early spring!


 What are your favorite units to teach?


Friday, February 5, 2016

Reader's Workshop


Our literacy block takes up most of our morning. We start about 8:35 and go till 11am with snack and recess mixed in too. We start with word work, have reader's workshop, snack and recess, then literacy stations. My favorite part is definitely reader's workshop.

I have always used the workshop model, even when I taught three year olds. It is so easy and beneficial to the students. Mini lessons we cover include basic reader's workshop set up, to discussing inferring, prediction, and comparison about text.  After the lesson the children take their bags of books and poetry folders to a spot in the classroom. Their bag of books are made up of leveled reader's and paper emergent reader's we have done as a class. Their poetry folder holds all the songs and poems we have learned over the year.

After our read aloud, discussion, and response to the prompt we start our independent reading. Yes, we do this on day 1 of school. Is it perfect NO! But they learn my expectations quickly and I hold them to these all year.

Each day a different color bag of books changes their leveled books. I tell my children their level and teach them how to do this independently. This gives me time to get the rest of the class settled before pulling these students for one on one reading.

Children may sit where ever they would like and read with whom ever they like, provided they make good choices. The children may read with another child and we spend many lessons talking about what reading with a partner looks like (eyes on book) and sounds like (talking about book, making connections, sounding out words, and reading with pointing fingers).

Once settled, I pull the children who changed books to read one on one. During this time I complete running records, adjust leveled reader's, and assess sight word knowledge. Typically I get through 3-4 children.

After approx. 20 mins we clean up and have snack. 

I do have a literacy curriculum, we use Scott Foresman. I like the way they introduce grammar components, but I hate that they are letter of the week. We typically do this during our literacy mini lesson, but occasionally the book is super high quality and works for a reader's workshop lesson.

Often we don't have time to share and discuss as is typical workshop model, which I wish we did, but we often do so much discuss about our class book, we are discussed out.

Monday, January 18, 2016

PJ Mask Birthday Party


The bug is lucky enough to have one of those birthdays right before Christmas. I love throwing parties and getting creative with decorations, but this year she wanted a PJ mask party. If your tv isn't constantly on Disney Junior, it is a new show where the children turn into PJ wearing super heroes. The problem being there is NO, absolutely no product available for this show.  So I tried to convince her on a princess party... No, Minnie Mouse party...No, ballet party...No. So I had to set out and create something from nothing.

First thing she decided she wanted, was to decorate Masks and to wear her PJ's. So that's exactly what we did. We invited all the children to wear their favorite PJ's.

For food, we did her favorites: ham and cheese sandwiches, popcorn, and fruit. I normally go crazy with food, but being pregnant and realizing that I always had a ton left over I kept it simple. Guess what nobody went hungry and no one cared. Especially not the other 4 year olds. The children had a choice of chocolate or white milk.

PJ mask colors are red, blue, and green, but the bug insisted on pink so we altered the colors to their pastel counter parts.

As a kindergarten teacher, I like stations and activities. Therefore, I set up my low coffee table with glue, stickers, and markers for mask decorating. A quick draw and lots of cutting later, I cut out masks for owlet, gecko, and cat boy. I used foam for the masks, as I wanted to use stickers and markers. We also did cookie decorating. It doesn't really fit with the theme especially when she chose christmas cutters, but the bug loves decorating cookies. So I couldn't say no.

Lastly, came the cake. The bug wanted cupcakes too, which with a peanut allergy attending the party it was easier for ingredients. I did do a small cake as we were having a family birthday party afterwards. We continued the pink theme and I used marshmallow fondant to make an owlet outline. Really, I should have taken pictures of all my different attempts at the owlet logo. My husband, who is more artistic than me even joked that he looked forward to doing it for me that evening. But I did it and I'm really proud of how it turned out. When your mother-in-law is a cake decorator the bar is definitely higher than most.

Over all the party was a success. Thanks to two older brothers the piñata was broken or we would have been there for hours. The children played in the play room and I heard from one little boy's mom that he had asked to have his birthday at our house, so I'll take it. 

4th birthday complete.


Nativity Scene Handprint Parent Gift


It's better late than never, here are the results of our Christmas parent gifts. 

They are a little time consuming, but they come out beautifully. I even did a set for my mother in law and great grandma using my daughters hand. For my mother in laws, I put two back to back and created tree ornaments.

The best part of this present is that it is a truly meaningful keepsake.

This is our second year doing this project. We found it last year over at Planet of the Apels. Over the two years I have learned a few tricks. 

First, it easiest to make a chart about which hand become which animal so they all face baby Jesus. Second, have the children do the hand print and then add all the extras later. The exception being the camel we have the children add an extra thumb print for the head and then a print for the neck. It's easiest to use a nice marker to make the manger, we tried finger prints the first year but it's just too much. 

Lastly, practice how you are going to do the writing including what kind of pen you are going to use. This year I started doing it on two sides and it looked awful. I felt so bad, my assistant and I spent a day pulling them off and re backing them. Go Miss OCD! Luckily my assistant loves me (or at least she pretends too), so she forgave my craziness.


Anyway, they came out wonderfully and I hope the parents cherish them forever.